I used the fill tool to turn the first layer white.
I then changed my brush colors to a dark and a light blue for the tones of the water.
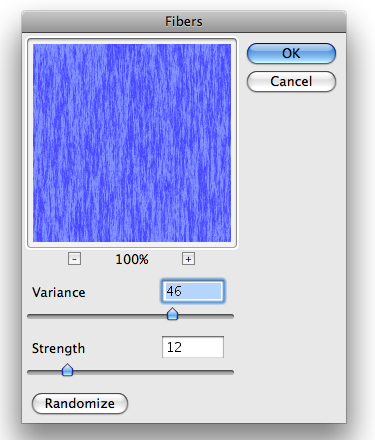
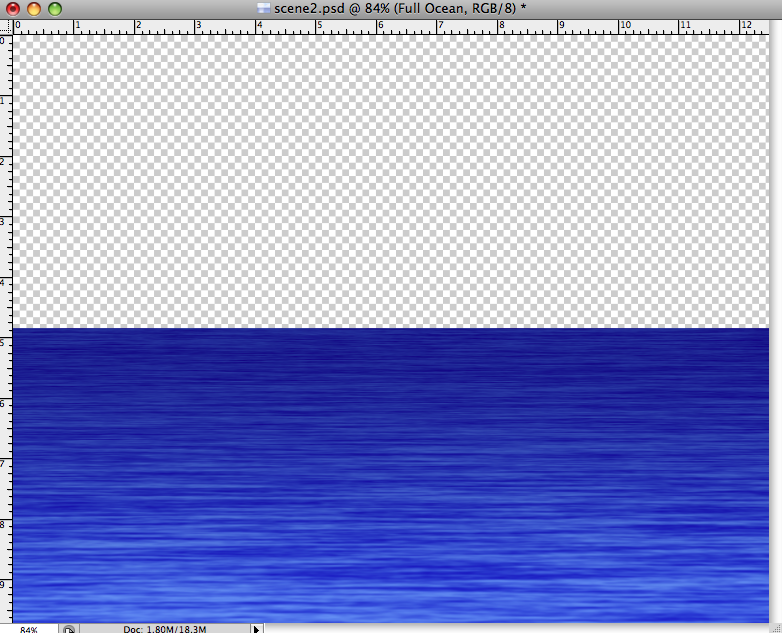
After that I utilized the render >> fibers filter.
I adjusted the variance and strength to get a water look.
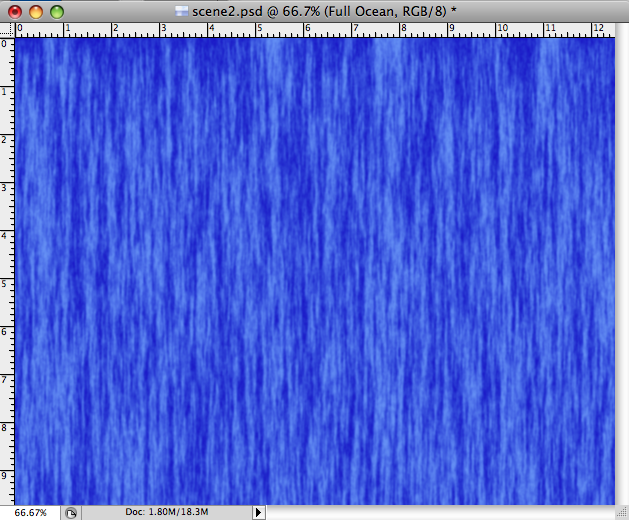
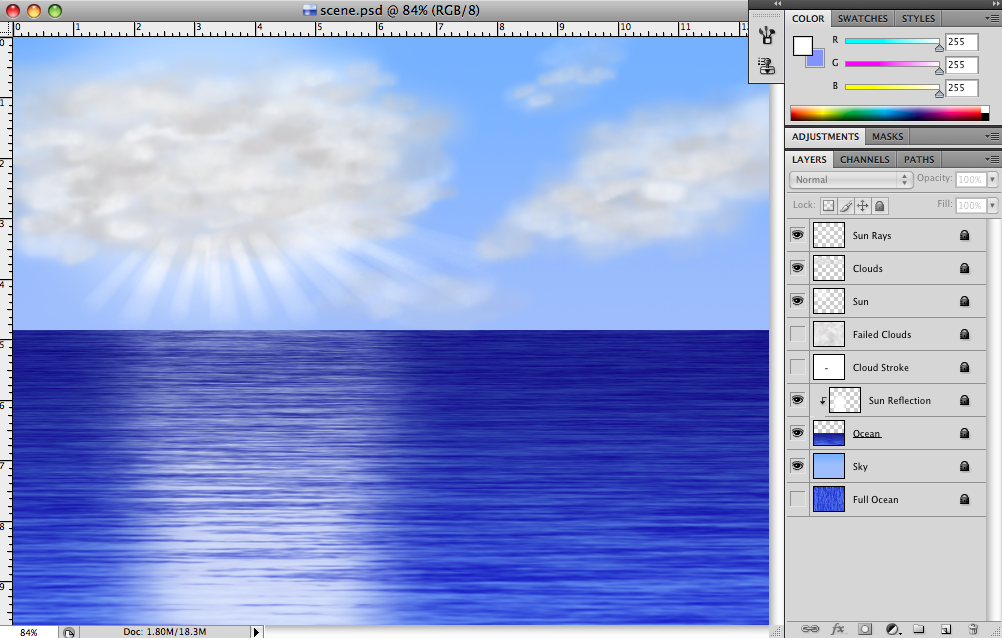
I then renamed that layer as "Full Ocean" and created a second layer named "Ocean"
I selected the entire image from "Full Ocean" and copied it to "Ocean"
Doing this allowed me to alter the layer and still go back if I needed too.
I turned the "Full Ocean" layer off.
I then modified the ocean image in the "Ocean" layer.
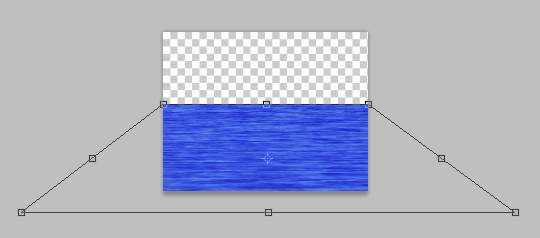
I rotated the image 90 degrees.
I then zoomed out on my canvas to get a big work area.
I used Transform >> Distort to lower the top of the water to about the middle of the canvas and I pulled the bottom corners away from the canvas to create perspective on the water.
Then I changed my brush colors to a dark blue and white.
I created a new layer above the Ocean one.
I then selected the gradiant tool and created a gradiant with dark blue at the top of the water and white at the bottom.
I then utilized the multiply blend option and decreased the opacity so that it gives the water a darker color as it gets farther away.
I merged these two layers into one since I want these two effects to stay together.
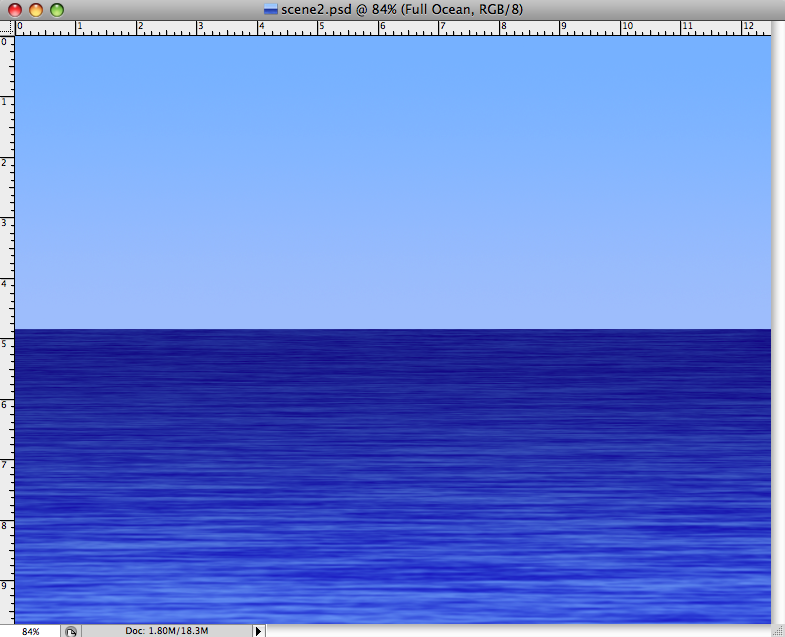
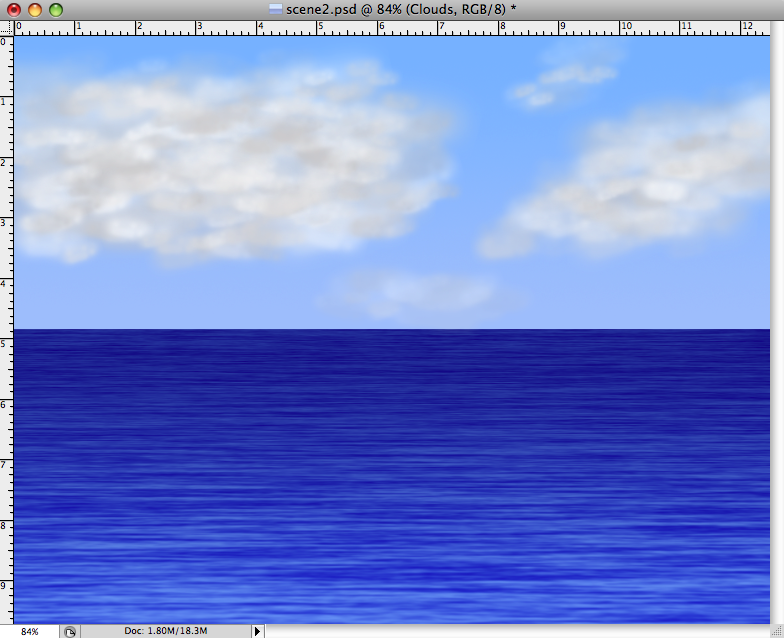
I then created a new layer behind the "Ocean" layer that I named "Sky".
I changed my brush colors to a light blue and slightly darker light blue.
Using the gradiant tool I colored the white area above the water blue with the area near the water being slightly lighter.
I then attempted to use the Render >> Clouds and Render >> Difference Clouds filters but it created more of a smoky look than a cloud look so I went with a manual approach.
I created a new layer and used the fill tool to turn it white.
I then selected a soft brush with a black color and 50% opacity.
I drew a quick spot.
I then chose a smaller harder brush and added another spot.
And once again an even smaller brush for three spots.
Where the color is pure white is transpacrent and where it is pure black is solid so these different tones create variety in the opacity of the brush.
I then turned the spot into a brush named "Cloud" and turned the layer off.
Then I created a new layer named "Clouds".
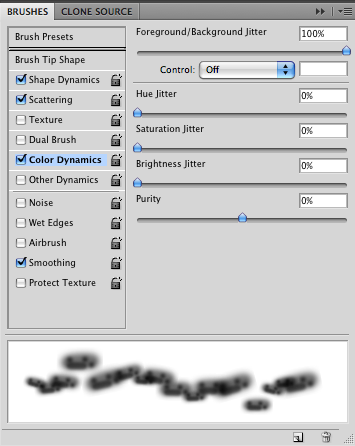
I changed my brush color to a light grey and selected my custom "Cloud" brush.
I adjusted the opacity down to about 50%.
I then went into the brush options and made several changes to create a more variable cloud effect rather than a solid brush streak.
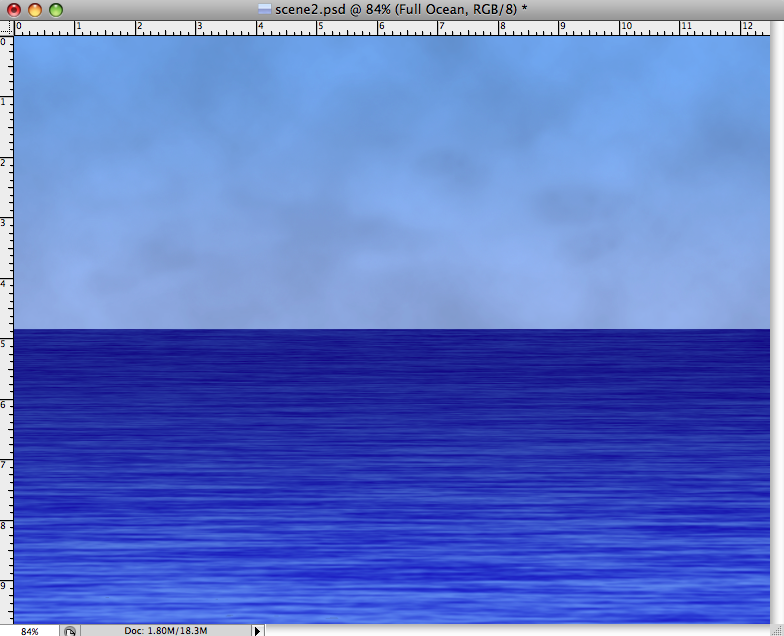
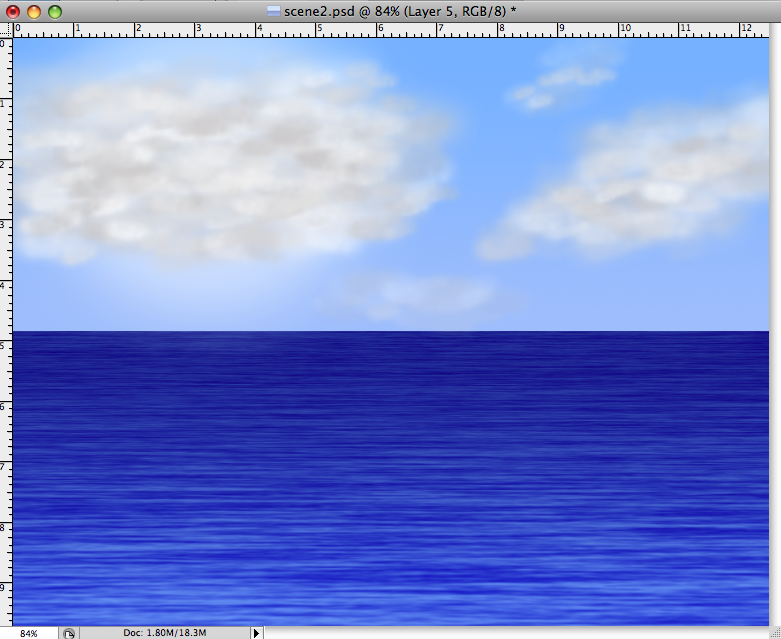
I then began applying my brush to create the clouds.
I created the two main spots and then I began varrying the brush size and opacity to add depth to the clouds.
I then lowerd the size and opacity of the brush and created the small cloud on the horizon to give the image depth.
I then created a new layer below the "Clouds" layer.
I changed my brush color to whitewith a slight opacity level and selected a really large brush stroke.
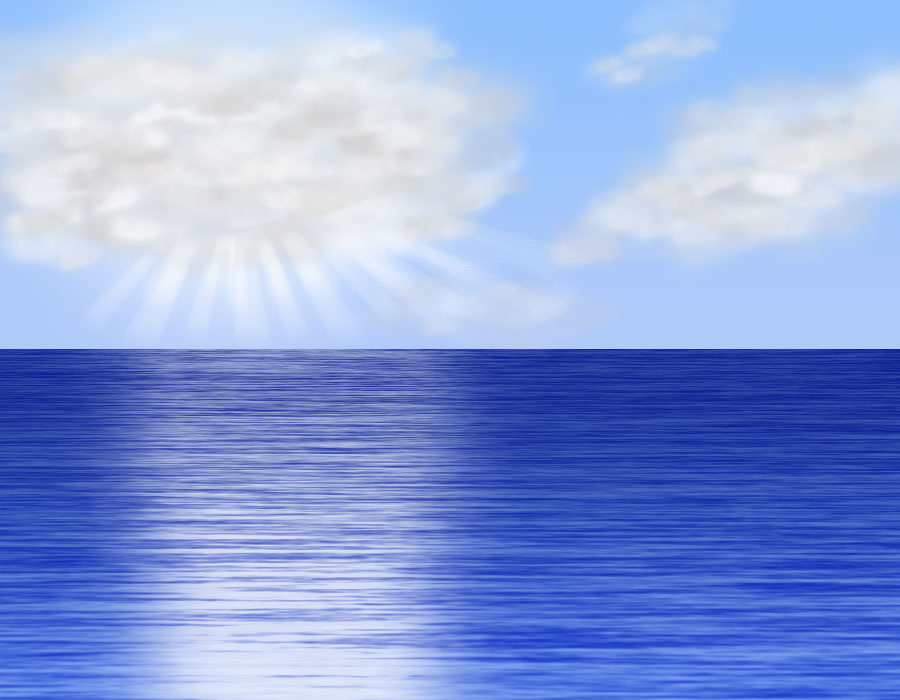
I then clicked on the main cloud on the left and swirled the brush around to create a nice sun glow from behind the clouds.
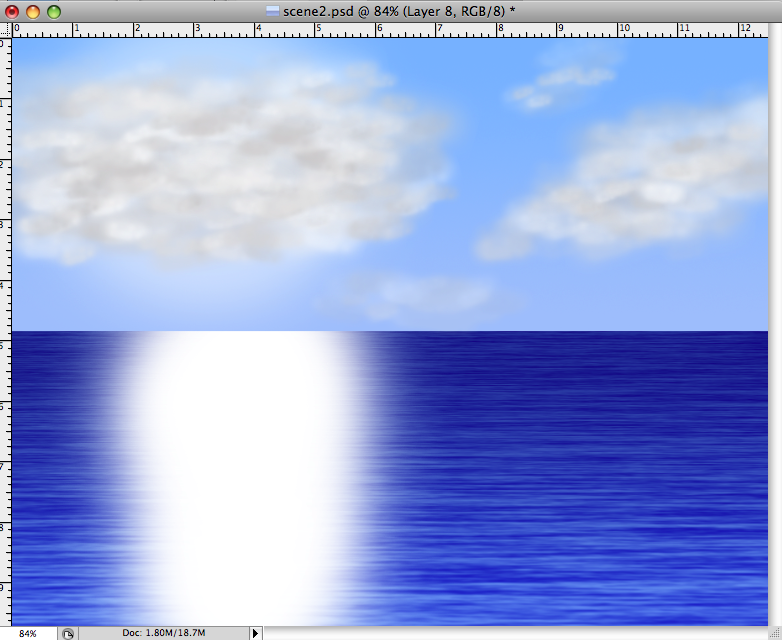
I then created another layer directly above the ocean layer.
Utilizing the same brush settings above but with no opacity I drew vertical streak over the ocean below the sun.
I then clipped that layer with the ocean layer to create a nice clean cut at the horizon.
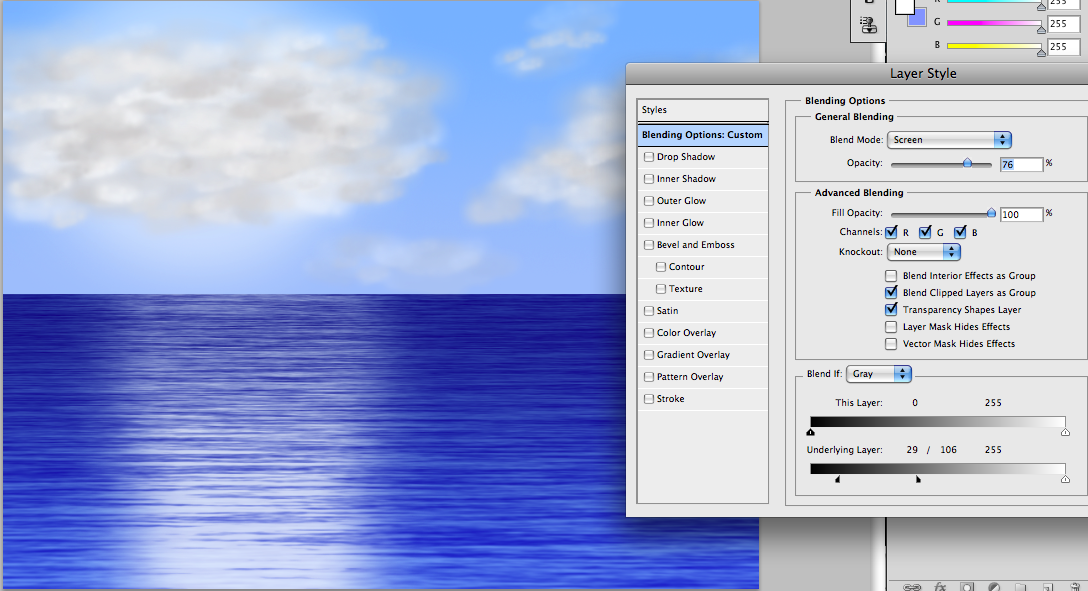
I then applied the screening blend affect and lowerd the opacity on the layer to around 75%.
I adjusted the underlying layer settings of the blend if options so that some of the darker regions peacked through creating the front side of waves.
I split the black adjuster and created a blend region where the layer uses a gradiant between visible and non visible so that the waves aren't so pronounced.
I then created a new layer on top of all the others.
Utilizing a hard brush stroke I drew several white spots and strokes alongs the bottom side of the main cloud leading slightly up the right side.
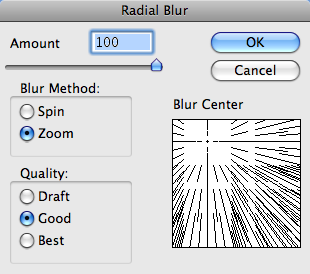
I then applied the radial blur effect.
I changed the settings to the zoom effect and adjusted the center to be located relative to the sun in my image.
This turned the brush strokes into streak fading from the clouds for the rays.
Finally I double checked the ordering of the layers to ensure that everything was stacked the way it should be.