I exported the sky, water, sun, and sun glow as individual images with alpha backgrounds.
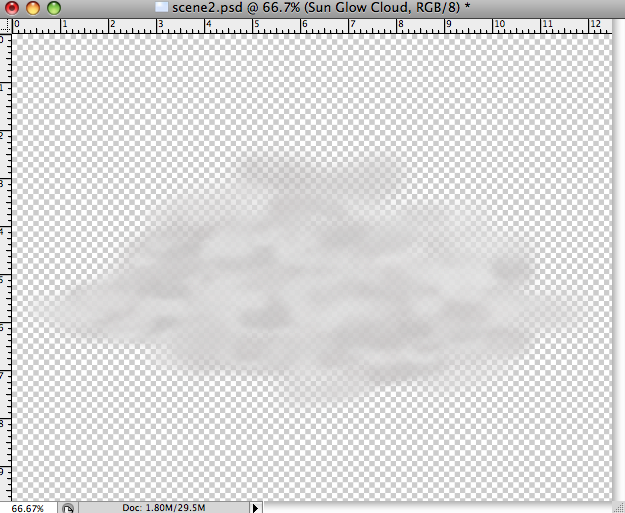
I then utilized my old cloud brush to create a large and a small cloud on seperate layers since my original ones are not whole.
I also created new sun rays to fit the new cloud and exported the three new items as seperate images.
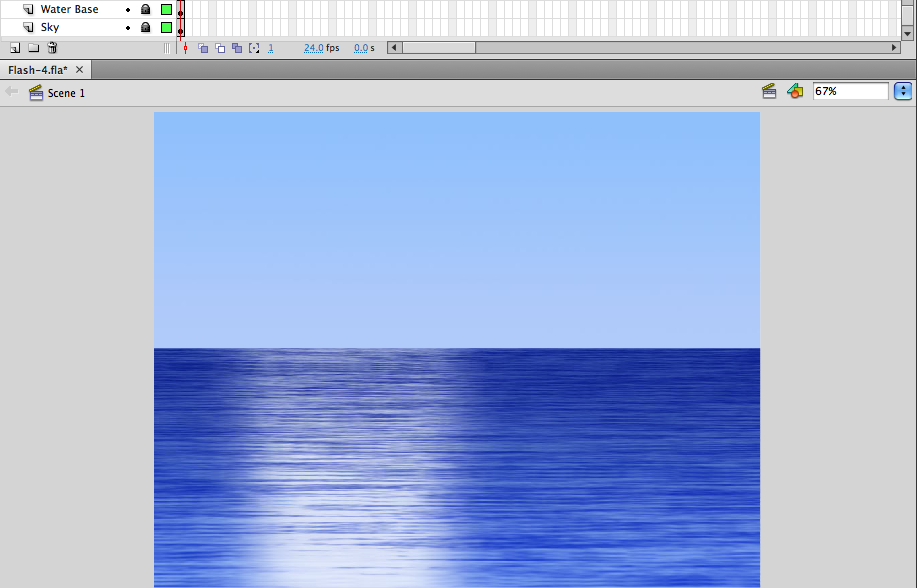
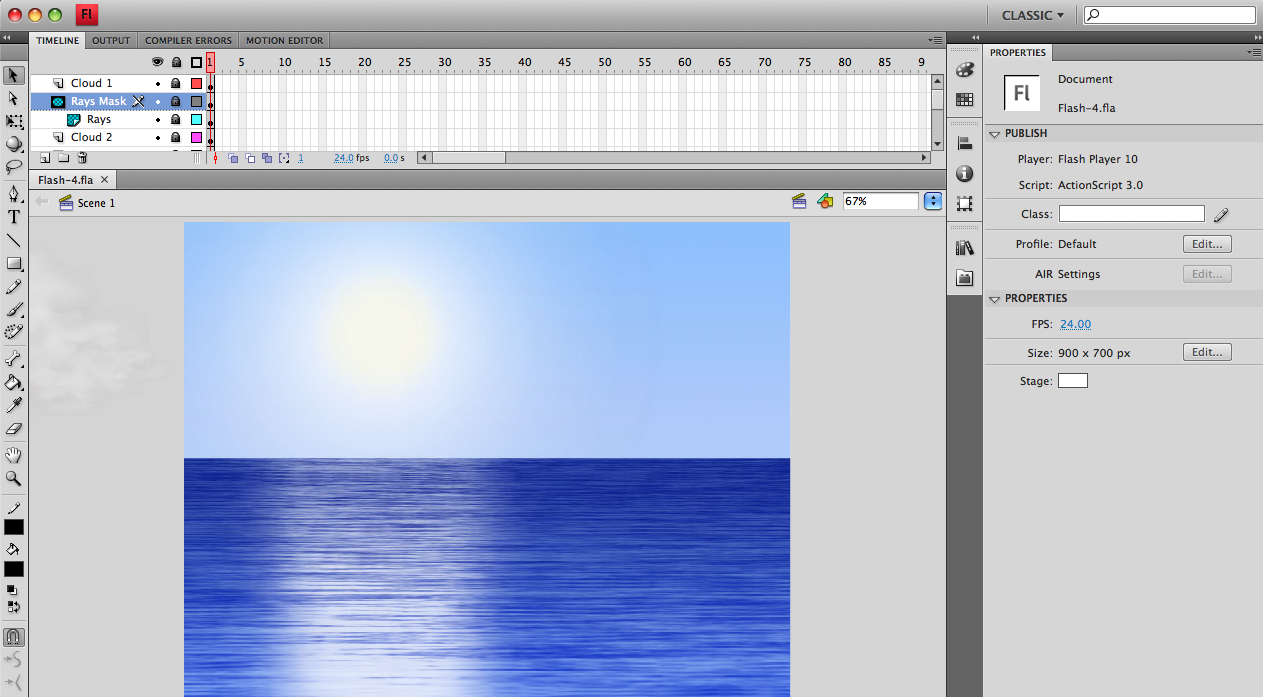
I then created a blank flash document the same size as my photoshop image.
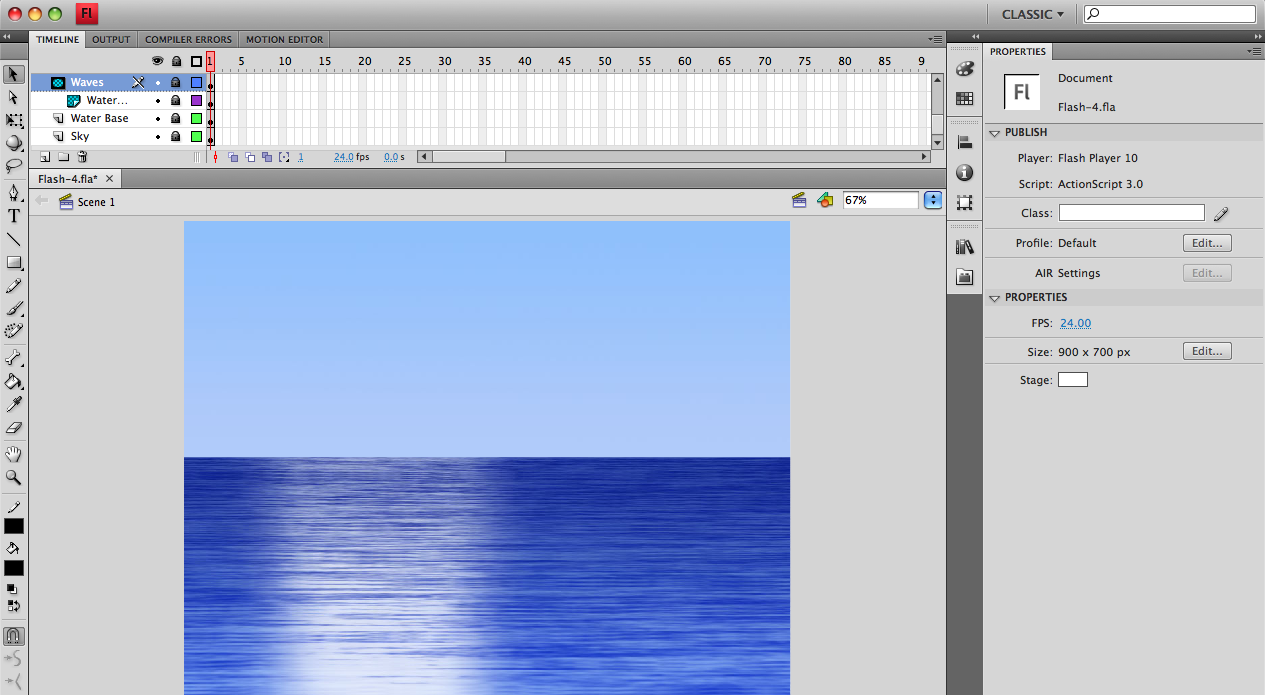
I created two layers and utilized the "import to stage" option to place the sky on one layer and the ocean on another.
I then duplicated the ocean layer and moved the new layer down a few pixels.
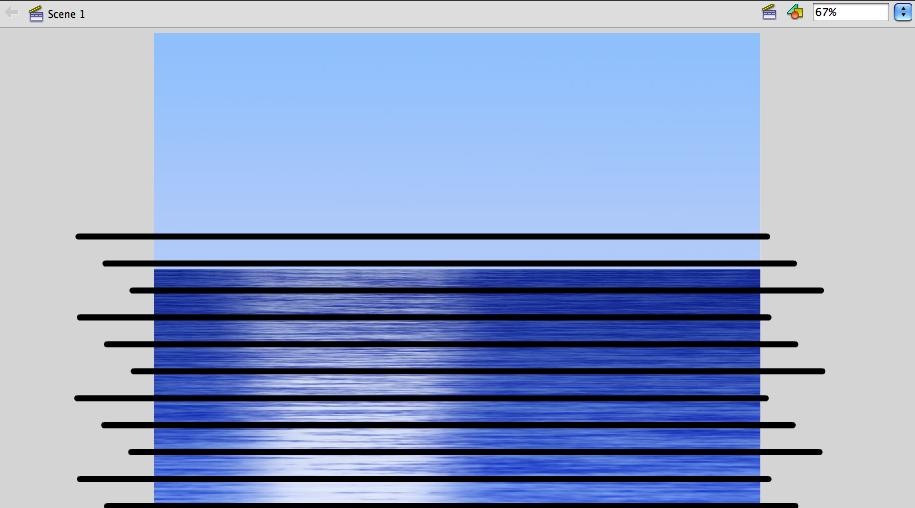
After that I created a new layer to use as a mask on the second ocean layer.
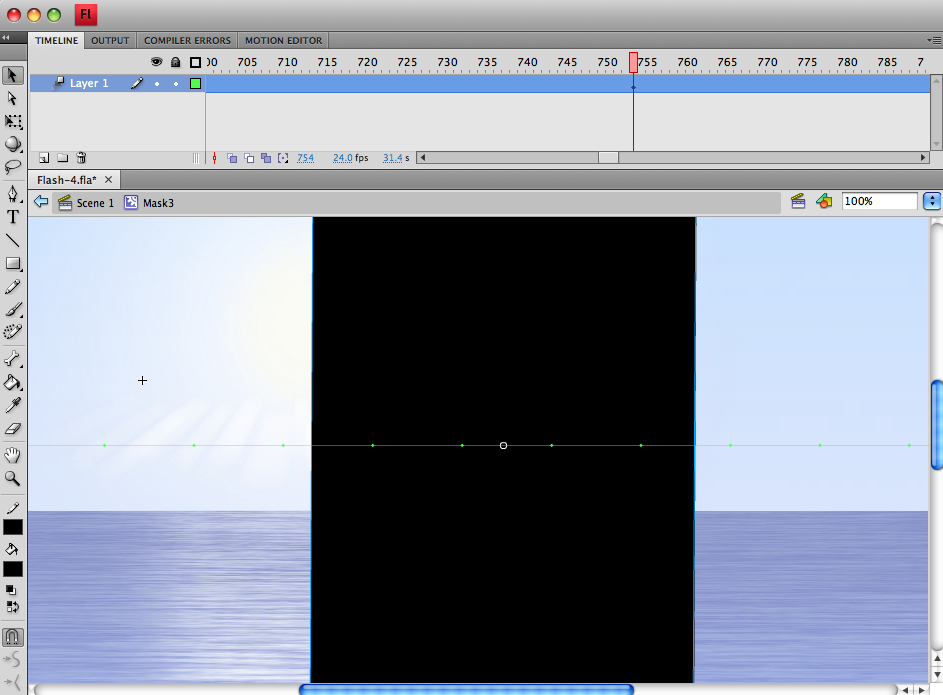
I started by drawing a black 10 pixel line and used Modify >> Shape >> Convert line to Fill.
I then converted the line to a movie symbol.
Now that the line is able to be a mask I duplicated it several times in equal intervals.
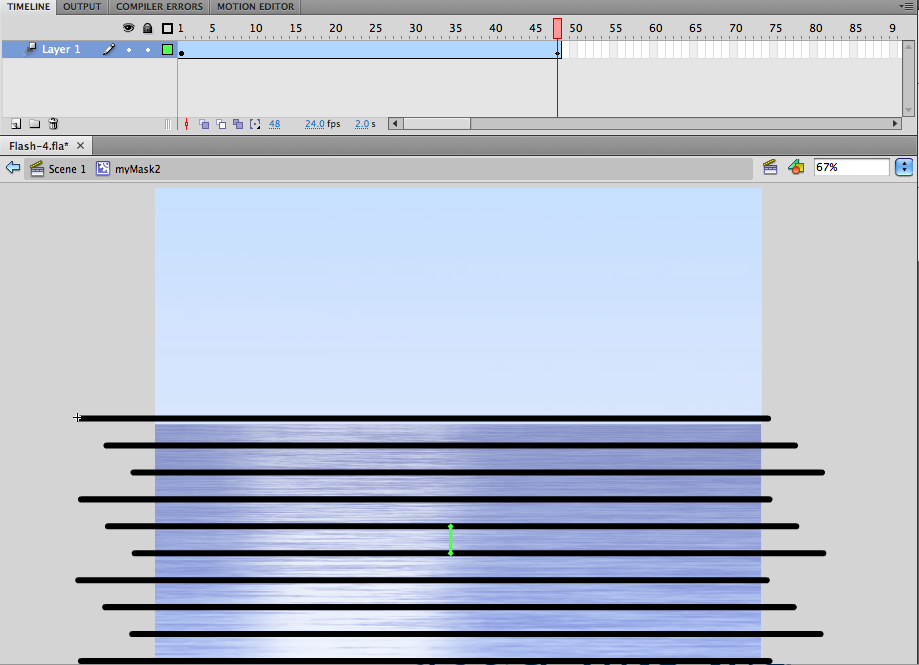
I then selected all the lines and double clicked on them to enter the animation timeline of the lines.
I created a frame at frame 1 and 48.
At frame 48 I moved all the lines down one interval so that they line up with the location of the one below it.
I then used a motion tween between the two points to create smooth downward motion.
I then went back to the main time line and right clicked the new mask layer and chose mask.
That utilizes the second shifted ocean layer and only shows the parts that are under the black lines creating a wave appearance when the animation is played.
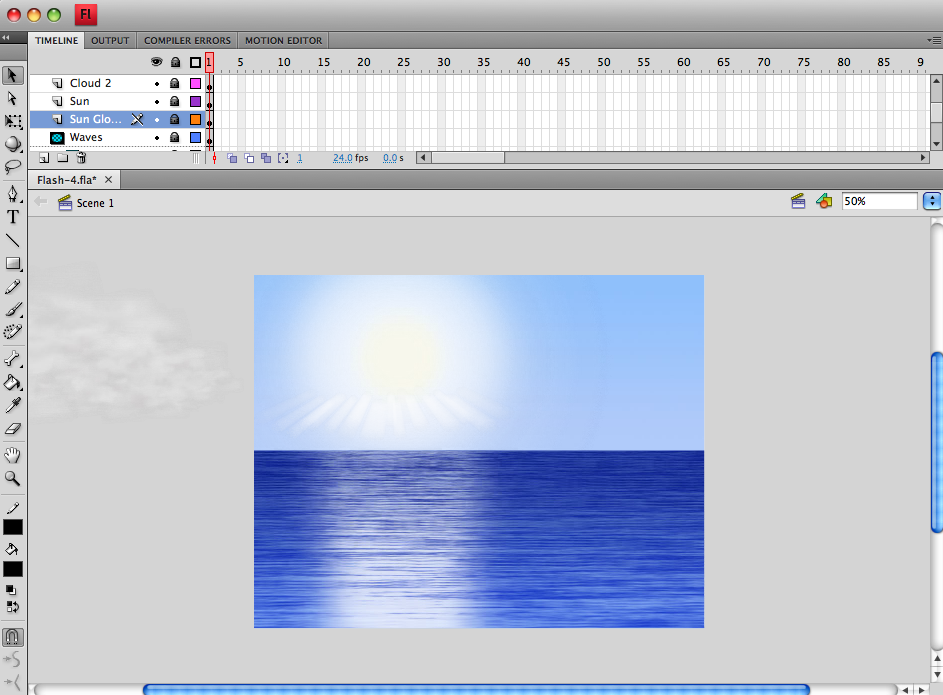
I then began working on the sky by created new individual layers for the sun, sun glow, rays, large cloud, and small cloud.
I then imported each of the images that I had previously exported from Phtotoshop to their corresponding layers.
Then I began animating the sky elements.
I converted the small cloud, large cloud, and sun glow into individual movie symbols.
I then double clicked the small cloud to enter it's individual timeline.
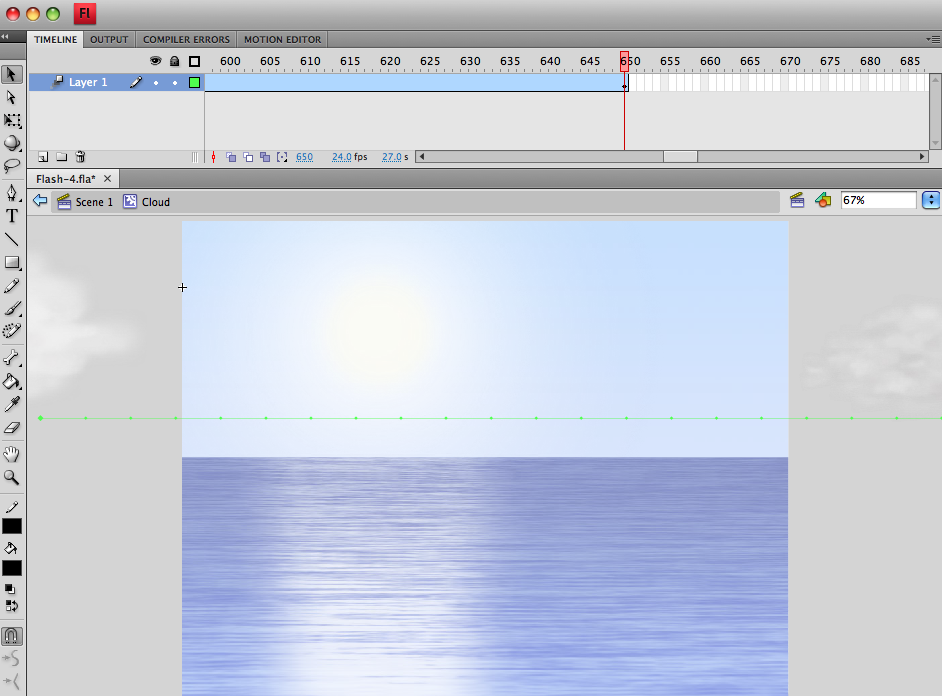
I created a second frame at frame 650 and created a motion tween between the frames.
I then moved the cloud in frame 650 so that it was off the right side of the screen. This created a 650 frame animation across the screen.
I then repeated this animation process with the large cloud except using 1,440 frames instead of 650 so that the larger cloud moves slower.
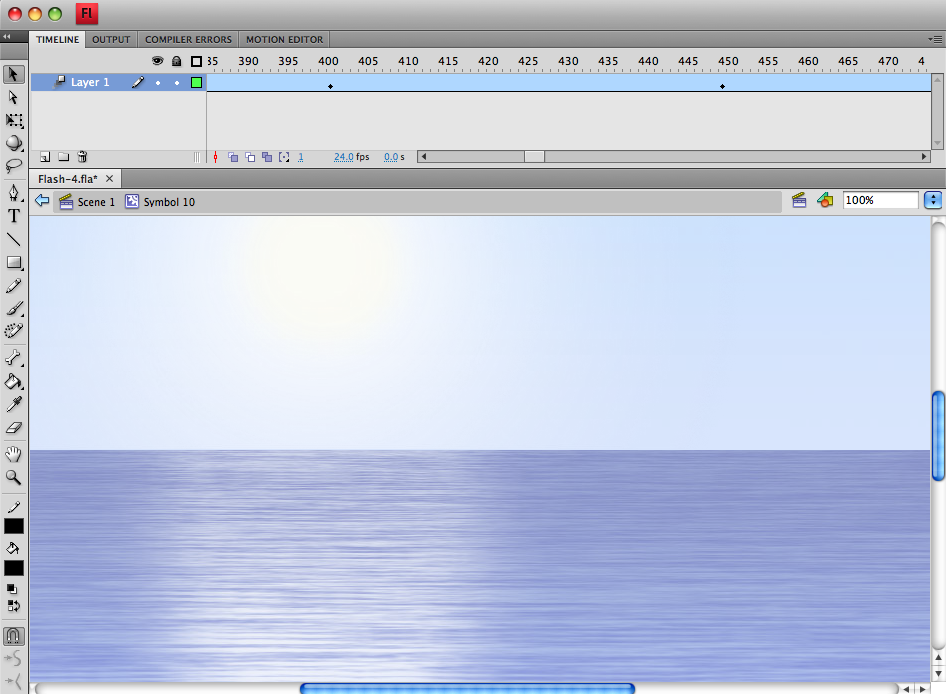
After that I animated the sun glow.
I changed the opacity to 0 so that it would not be visible.
I then entered the sun glows individual animation layer and created the same number of frames as the large cloud, 1,440 with a motion tween in in between the first and last.
I then looked at the large clouds animation to identify the frame range in which the sun is behind the cloud.
I used that information to create keyframes at the beginning and end of that interval that ease the opacity to 100%.
This creates a glow behind the cloud while it is in front of the sun that disappears while it is not.
I then created a new layer for masking directly above the rays layer.
I created a black box about the size of the large cloud and converted it to a movie symbol.
I then double click the box to enter it's individual timeline.
I created a frame at 1,440 with a motion tween between it and frame 1.
That will ensure that the animation repeats on sync with the large cloud.
I once again looked at the large clouds animation to see when the cloud covers the sun causing the rays to show.
I used that information to create a combination of motion and skew animation on the box to have it properly reveal and hide the rays.
After that I went back to the main timeline and right clicked on the new ray mask layer and set it as a mask. That causes the rays to only show while the box is over them.
Finally I checked over all the layers to ensure that they are in the correct order and made slight tweaks to the individual animation timings to get them all looking correct.